(or EMI Shielding for Bass and Guitar)
Our customer service expert, Nick Guadagnoli, lends some expertise on shielding.
You May Relate to This Scene:
It’s soundcheck:
(You plug in.)
bzzzzzzzzzzzzzzzzzzzzzzzzzzzzzzzzzzzzzzzzzzzzzzzz.
What is that?
zzzzzzzzzzzzzzzzzzzzzzzzzzzzzzzzzzzzzzzzzzzzzzzzz
Seriously, come on.
zzzzzzzzzzzzzzzzzzzzzzzzzzzzzzzzzzzzzzzzzzzzzzzzzz
(you put your hands on the strings)
SNIPsssssssssssssssssssssssssssssssssssssssssssss
(from SoundGuy) We need to do something about your bass, dude.
I haven’t played a note yet…
Your bass buzzes maybe. This doesn’t happen constantly, but I do get email and phone contact from players saying “my pickups are making noise.”
I have to reassure them that there are no moving parts nor actual energy in the pups, that they just turn fluctuations in their sensing fields into miniscule voltage differentials.
That noise is the sound imparted to your bass’s electronics as a result of not being shielded from electromagnetic interference (EMI). If the buzzing stops when you put your hands on the strings, that means your electronics can benefit from a good shielding job.
The noise itself will differ based on the electrical system your gear is energized by. Different circuits power different lights and equipment, and all those devices are singing different tunes that are definitely not in key with your setlist.
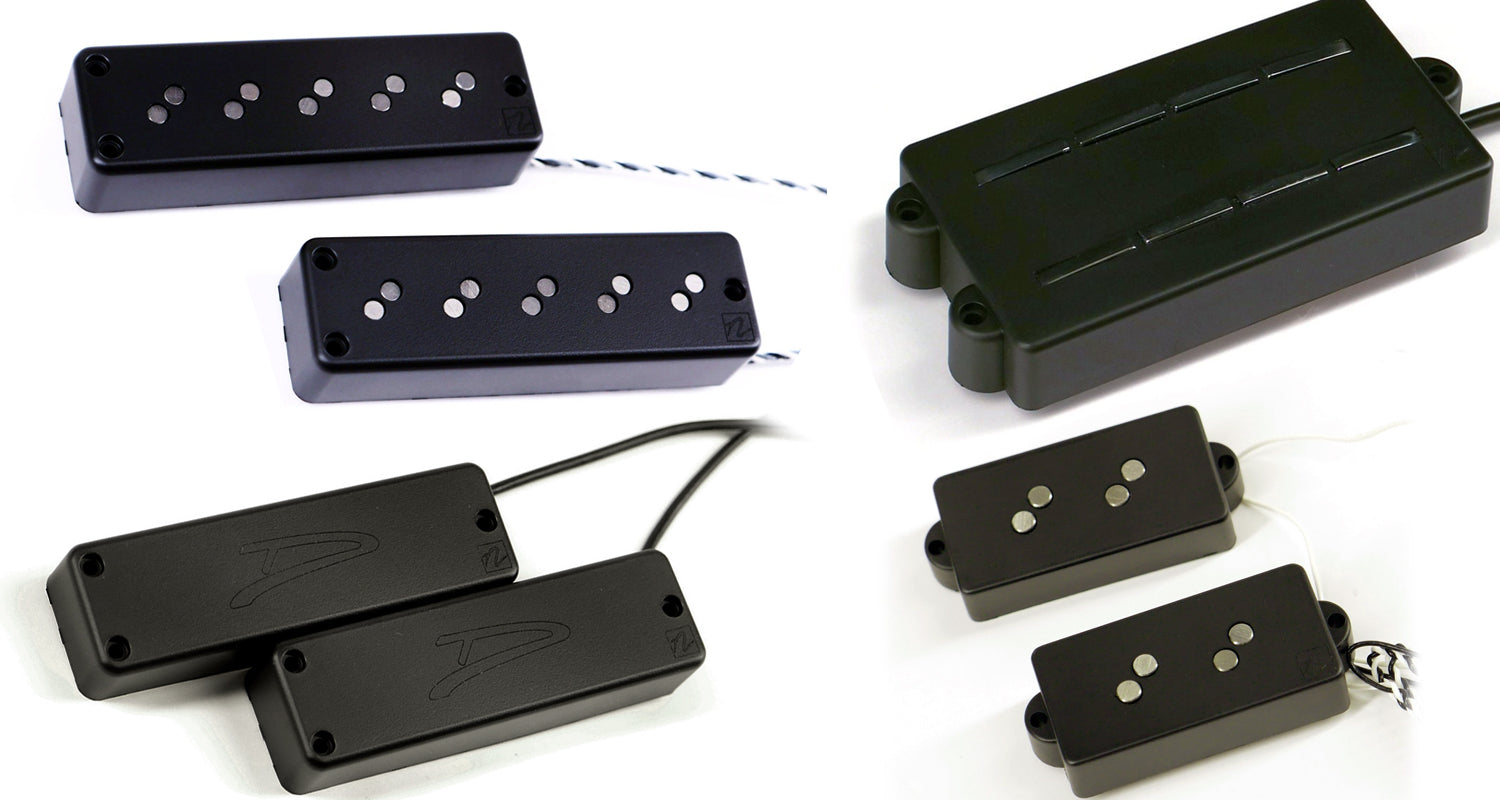
Good shielding is the enclosure that will protect your favorite single coil pickup’s wiring components from becoming antennas for all the devices of the modern world as they radiate noise into your groove.
Oh… and don’t play with your phone in your pocket.
Is My Instrument Shielded?
Maybe. Maybe not. There are a few common ways control cavities are shielded and they're easy to identify. Pop yours open (I apologize on behalf of luthiery for any obscene numbers of screws to be removed). If the color of the inside of your cavity is all the same as the color of the outside of your instrument, you are probably looking at an unshielded cavity.
Does your cavity lid have a layer of metal foil tape covering the interior face? If it’s not, your lid isn’t a shielded surface.
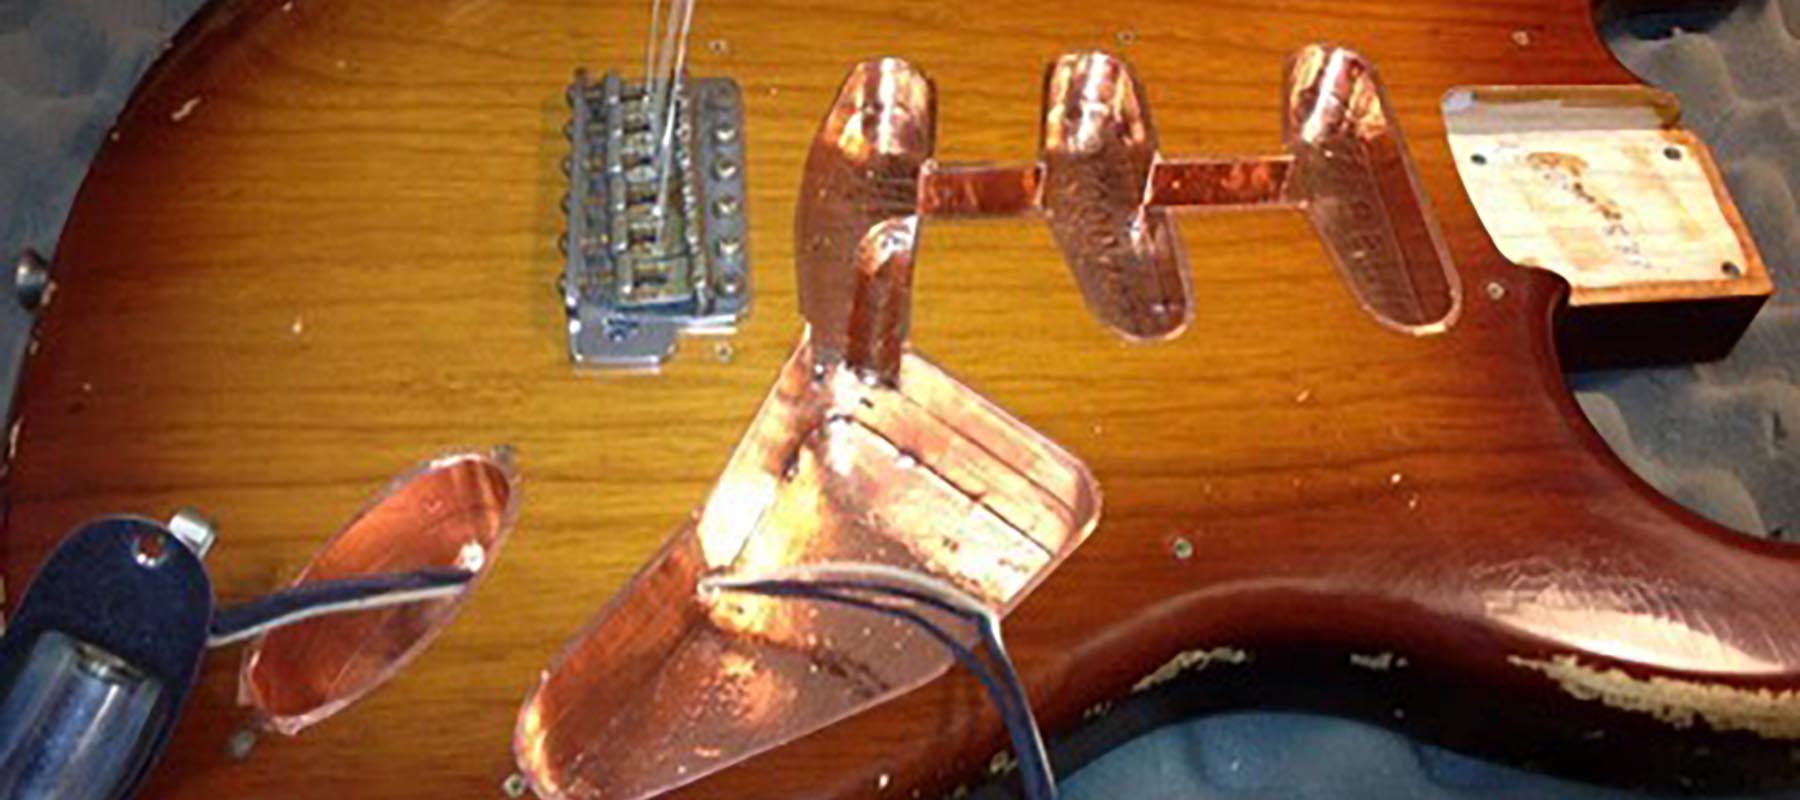
Did you just open your cavity to find a gorgeous copper skin or matte charcoal paint covering the surfaces of the enclosure, including the inside of the lid? If everything is grounded right, that’s a shielded instrument, and someone took patience and diligence to protect your signal.
How Shielding Is Established:
The term most of us above a certain age remember is “Faraday Cage,” but if you swap out “Faraday” for “Grounded Conducting” it's a more descriptive Grounded Conducting Cage. Essentially you’re making a physical envelope that acts as the ground collector for your wiring, and it prevents your components from being antennas for EMI.
The simplest method is to create two parallel conducting planes (the bottom of your control cavity and the inside of the lid or pickguard) and electrically tie them together at both ends. Afterward, connect it to ground with a screw and eyelet or soldered lead wire connecting any other shielded cavities and the bridge and finally to the sleeve of the output jack.
This qualifies as a cage with two big openings the length of your cavity (ohhhhh the temptation to call them apertures) and it’s still possible to get high frequency interference (and if you can hear in the MHz range you might be able to hear it). This will block almost anything audible, but it’s not optimal.
The best practice is to cover the sides of the cavities as well, being sure to establish ground conductivity from surface to surface with overlap and/or solder, and to create at least one (preferably one at each end, or even at each screw) point of contact where the lid plane is grounded to the cavity surfaces, usually at the locations of cover screws or pickguard screws.
A reminder here: no matter which method you use, this is an opportunity to exercise care and art no matter your level of skill. Familiarize yourself with the process, parts, and functions and plan it out. Have adequate supplies to keep it clean and recover from oopsies.
Types Of Shielding:
Metal Tape With Conductive Adhesive:
Carey’s preferred method minimizes capacitive resistance between ground points and requires no ventilation or drying time.
- Remove all components and apply sheets of copper foil to the bottom and sides of all cavities as well as the cavity lid and/or control zone of the pickguard if applicable.
- Covering all interior surfaces ensures the lowest possible resistance between any two points on the surface of the cage, checking from several points.
- Pickup ground wires should terminate on potentiometer cases as normal, and the pots themselves can be grounded to the foil.
- Copper shielding tape can be found in many widths and lengths on the internet.
Conductive Paint:
Mo’s preferred method is smelly but not too difficult to apply, since there’s no precision cutting and very little fiddly foil.

- Paint quality and properties can vary widely from effective to inert, so care must be taken in selecting the right material.
- Ventilation and drying time are required.
- Capacitive resistance increases between ground points as distance increases and you can’t just solder leads to the paint.
- Mo uses triangular latex foam cosmetic sponges to apply the paint in at least two coats over all control cavity internal surfaces, taking care to flow the coating into corners and crevices. When dry, use a multimeter to verify continuity between various test points (choose as randomly as you please).
- Wire must be carefully prepared with eyelets and screws and then painted as well to connect painted cages to common ground at the jack.
- Metal foil should still be used on control covers, and tying the cover to the cavity electrically can be accomplished by placing a strip of copper tape at a screw hole that folds over the corner into the cavity, then painting a layer over the other end of the strip for good conductivity.
- Conductive shielding paint is available from guitar part supply outlets as well as some electronics houses.
Good Intentions:
The easiest method to apply, but with the poorest filtration of EMI. Also cheap.
When Does It Matter?
Refrigerators. Fans. Neon. Fluorescent tubes. The upstairs neighbor’s vacuum cleaner. DIMMERS. Mobile phones in players’ pockets. We’re surrounded by sources of EMI (aka “all of the other electronic stuff we’re doing in our background lives”). As a result, whenever it’s time to perform over the PA or record a track using an instrument that uses magnetic pickups, there’s an opportunity to catch stray radio frequency waves with ungrounded metal parts (aka “unintentional antennas”) and contribute them to the mix (probably for some poor mixing engineer to express no shortage of colorful language while trying to EQ it out before asking if you brought more than one instrument ask me how I know).
Is It Really That Big A Deal?
Honestly if you’re playing for joy in your bedroom on a rickety old axe, you probably don’t care and shouldn’t. The hum is the ambience, the waiting symbol of the power you wield. It also reminds you to turn off your amp before you leave the room. But if you record, it’s crucial. Live sound engineers may comment on how quiet your bass is, but more than likely they’ll just complain less. The real result is that your instrument will no longer contribute to a buildup of nonmusical noise in whatever mix you find yourself swimming.